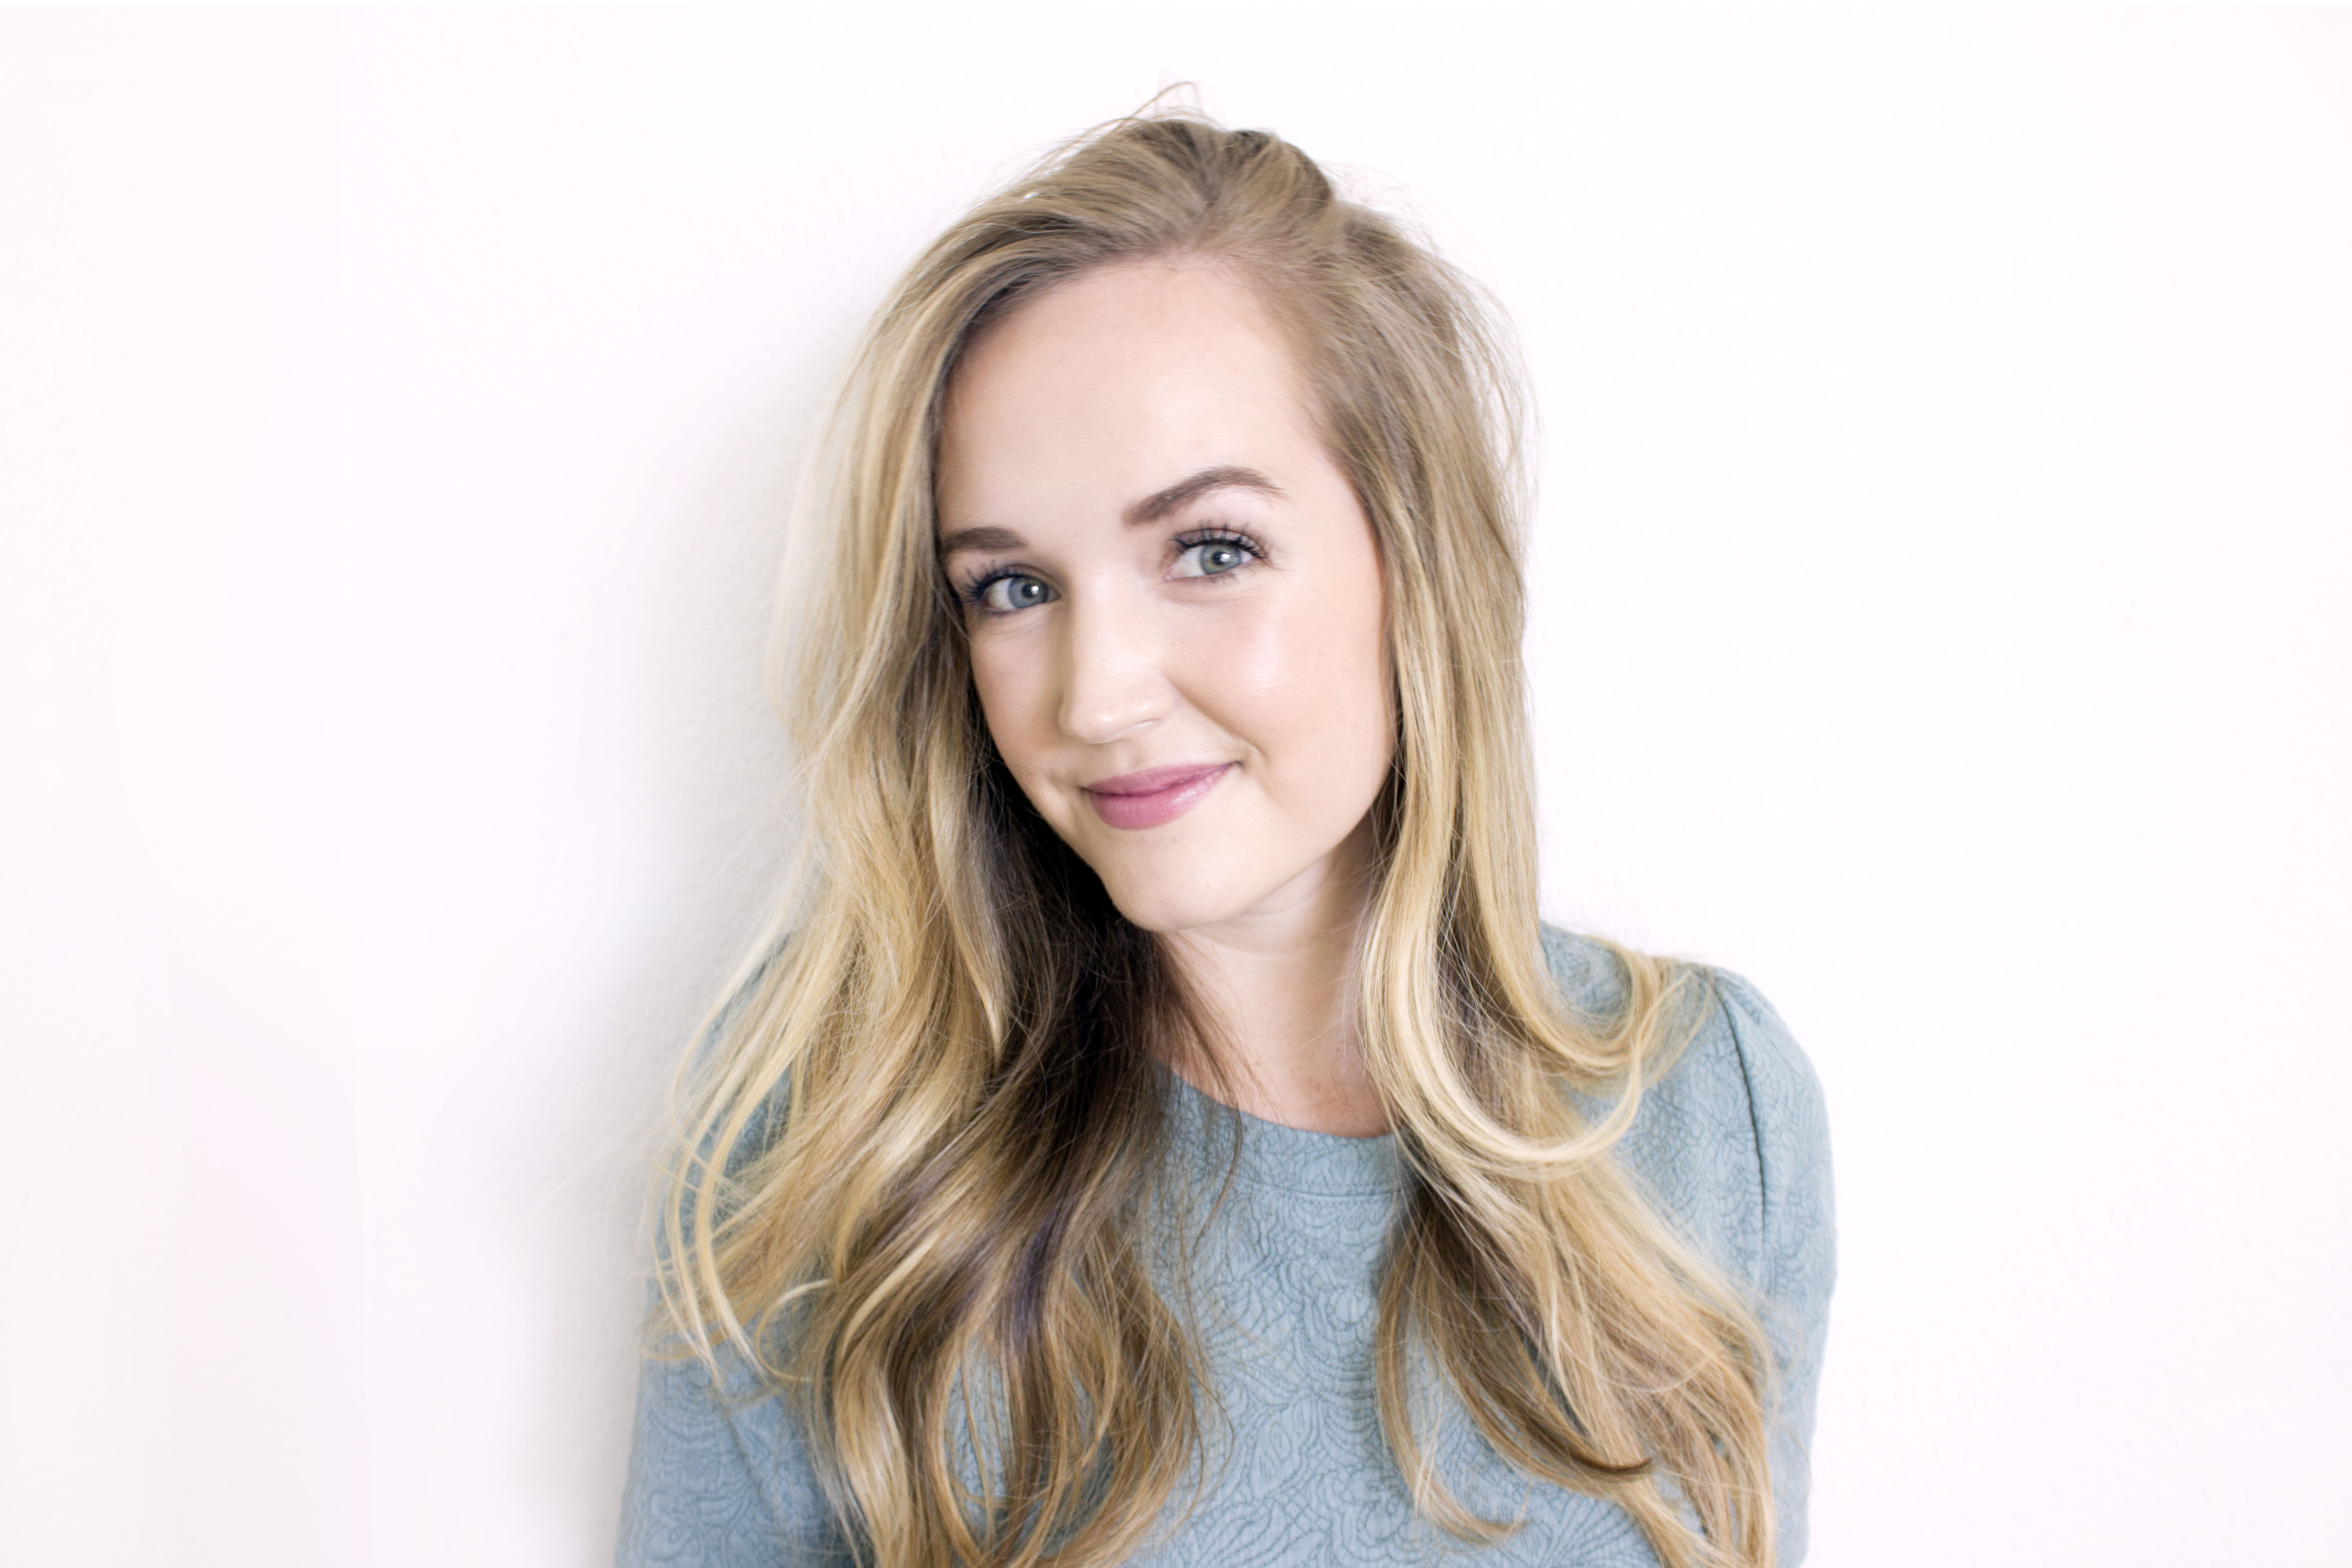
You don’t have hours to spend putting on makeup. I get it. Here’s a routine that will get you glowing skin and pretty lashes in less than six minutes.

Everyday Makeup Tutorial
Makeup is my favorite thing to read, talk and write about — believe me when I say I’ve spent years researching and trying new products to perfect this routine. I work from home, so to be clear, this is my “everyday makeup” for when I actually put on makeup. ;) Some days, I may skip a step or wear nothing at all — but when I know we’re going somewhere, this is my go-to routine, every time. Although the video tutorial below is sped up, this simple makeup look still only takes about six minutes in real time.
Step 1: Foundation
I’ve been using the BareMinerals Original Loose Powder Foundation for about six months and love how it adds a natural glow to my skin — no highlighter needed. I’m in the color Fairly Light and use this brush to apply the foundation. To apply, tap some of the product into the lid (a little goes a long way), swirl the brush in the lid and apply the product to the face in circular motions. The powder gets a creamier consistency the more you buff it in… so blend, blend, blend.
Step 2: Concealer
Anyone else like looking more wide awake than you actually are? That’s me! And this BareMinerals Stroke of Light Under Eye Brightener conceals dark circles like a charm. I like to apply three to four small dots beneath each eye. I use my ring finger to gently tap the product in — the skin under your eyes is delicate, so being gentle is key. Although I didn’t show this in the video, I use this concealer if I need to hide blemishes. It’s been my favorite for years! No other product conceals problem areas as good as this one.
Step 3: Bronzer
Yes, I do love BareMinerals Warmth but beware… It’s easy to go overboard when using this product. Tap the smallest bit into the lid, swirl a large kabuki brush in the lid and tap off any access. Blend the bronzer into the hollows of your cheeks, your temples and other areas where you want a sunkissed glow. Again, blending is key.
Step 4: Blush
I use this brush by EcoTools to put on my BareMinerals Blush in Golden Gate. In the video, you’ll see me also take this brush from VMV Hypoallergenics and go back over my face one more time for an extra dose of blending.
Step 5: Mascara
If you follow me on Instagram, you know I’ve been talking about the Bobbi Brown Eye-Opening Mascara for the last couple weeks. I’m loving it so far for its super black formula and its large wand. Both help add a ton of drama to the lashes without being too over-the-top for an everyday makeup look. For a less expensive and more subtle mascara, my all-time favorite drugstore product is Maybelline Full ‘n’ Soft. I highly recommend it as well! No matter which mascara I’m wearing, I always apply two coats. You’ll see in the video I like to move on to step six after the first coat to let the mascara dry before applying the second coat.
Step 6: Eyebrow Pencil
I have pretty unruly eyebrows, but they’re sparse in some areas. I like to use the Anastasia Beverly Hills Brow Wiz to even everything out. After brushing the brows, use the pencil end of the product to lightly outline the area you want to fill in and then use small strokes to apply the product.
Step 7: Lip Color
The Revlon Color Stay Balm Stain in Honey is my go-to lip color and for the price, you can’t beat it… I even wore it on my wedding day! After applying, sometimes I’ll also blot my lips with a tissue to make sure everything is set in place.
